

About Web of Science ResearcherID
Benefit of Web of Science ResearcherID
- Ensure that all your works in WoS are correctly attributed to you.
- Obtain citation counts, h-index, data on journals' impact factors, and citation metrics reports.
- Add variants of your name.
- Link your author record with ORCID and authorize exchange of data between these systems to save time.
- Import verified bibliographic data from WoS to Digital Measures.
- Keep track of your peer reviewer and editor activities in journals indexed by WoS.

Web of Science researcher profiles are the next stage in the evolution of Clarivate’s researcher profile offering after replacing Publons. This migration of Publons profiles into the Web of Science occurred to combine Clarivate’s two researcher representations (profiles and Web of Science author records) into Clarivate’s pre-eminent researcher-facing platform and simplify the experience of those researchers and administrators tracking their research outputs.
If you had a Publons profile, you will now find it in Web of Science.
Due to the sheer size of the migration from Publons to Web of Science not all features could be completed in time for launch. In addition, some Publons features were intentionally not migrated due to lack of use.


- Click on MENU button at side navigation bar.

- Click on PROFILE
- At “MY RESEARCHER PROFILE” please click on EDIT button

Edit Profile
Allows you to customize several aspects of your public representation on Web of Science researcher profile such as your profile photo, display name and primary organization.
Publication Preferences
Allows you to manage your automatic profile update preferences.
Peer Review Preferences
Allows you to set your review display preferences, turn on automatic addition of reviews from partnered journals and more.
ORCID Syncing
Allows you to connect ORCID to your profile and configure ORCID sync preferences.
 Click on the “+ MANAGE”
 Click on the “+ Add publications”
The options to add publication are:
Suggested publications
We use your name and email addresses to query Web of Science and allow you to claim the publications returned.
Identifier import
Manually add publications one-by-one by entering one of the following identifiers: DOI, Web of Science accession number, arXiv, or PubMed ID, or title.
File upload
Import your publication history from another platform by uploading an exported file in RIS, CSV, or BibTex format.
Sync with ORCID
We will pull in all journal articles you have added to your ORCID record and then retrieve any further metadata we can find for them.
- Select publication on the publication you would like to delete
- Click on Delete and then Confirm.

Steps for Claiming an Author Record in WOS
Use Claim My Record to claim publications you authored in the Web of Science; this ensures your author record lists only publications you authored.Once you claim an author record, no one else can claim or correct it; you are the only person who can update when you are signed in to the Web of Science.
Steps for Claiming an Author Record
- From an author record, click Claim my record. You must signed in to your Web of Science account to claim a record.
- Select the publications you authored and click Submit at the bottom of the page to associate them to your WoS Researcher Profile;
- After a short time, your Web of Science author record will display a green check next to the name on the Author Record.

Scopus Author ID is automatically generated if you have a paper in the database so registration for a Scopus Author ID is not required.
Having a Scopus Author ID allows you to easily see a list of your publications and view citation metrics such as h-index measures, citation counts, publications and co-authors.
Scopus Author ID can be linked to ORCID so publications can be imported into your ORCID.

Document Search

A search can be conducted for all of your publications by TITLE OF PUBLICATION and locate the title.

Then, by clicking your name, your Scopus author profile will be shown

Author Search

Click on Author tab, enter your surname, and first name (or initials), then click the Search button.

Scan the list for your name and affiliation. Click on your name to open it in order to edit any changes.


- Conduct an Author Search, by entering your first and last name(s) and clicking on “search”. Do not include full affiliation if you have worked across different institutions.

- Select each name that show your profile name, then click REQUEST TO MERGE AUTHORS

- Sign in first to activate Author Feedback Wizard. You can register using Gmail UiTM or Personal Gmail. If you have Mendeley Account, you can use Mendeley account to Sign In.

- Go through the steps via Author Feedback Wizard to add or remove publications (if needed), and confirm your affiliation.
- Confirm and submit.
- An email will be sent to your email address to confirm the changes. Click on “Back to Scopus” to end the process and return to the Scopus main page.
Note:
It is important to make sure that all your publications are listed under one unique Scopus Author ID and that all of the works listed under your Author ID belong to you. This also ensures that your citation information (e.g. total citations, h-index) can be accurately retrieved.

- Set a preferred name
- Merge profiles
- Add and remove documents
- Update affiliation
Updates SCOPUS Author Profile
On your profile page:

- Check your author details are correct, and that Universiti Teknologi MARA is listed as your current affiliation
- Check all of the publications listed on your profile should be attributed to you
- Check there are no relevant publications missing.
- First, sign in to your Google account.
- Open the Scholar profile sign-up form, confirm the spelling of your name, enter your affiliation, interests, etc. It is recommended to enter your university email address; this would make your profile eligible for inclusion in Google Scholar search results.
- On the next page, you'll see groups of articles written by people with names similar to yours. Add all articles that you have written. If you publish under several different names, you may need to do several searches to add all your papers.
- Once you're done adding articles, it will ask you what to do when the article data changes in Google Scholar. You can either automatically apply the updates to your profile, or you can choose to review them beforehand.
- Finally, you will see your profile. This is an excellent time to add a few finishing touches - upload your professional-looking photo, visit your university email inbox and click on the verification link, double check the list of articles, and once you're completely satisfied, make your profile public.
- You'll need a Google account before you can begin - use your existing account or create one.
- Go to Google Scholar and click on 'My citations'
- Follow the instructions, adding your affiliation information and your University email address. (Remember to validate the address - you'll receive an email asking you to do this).
- Add keywords relating to your research and add a link to your University home page (if you have one)
- Add a photo if you want to personalise your profile.
- Click on 'Next step' to create your basic profile.
- Add your publications - Google will probably suggest the correct ones and ask you to confirm that they are yours. Be careful if you have a common name as publications by others may be included in the suggestions. There may also be some types of articles that you don't want to include (Google indexes lots of content such as newsletters, book reviews etc, not just scholarly articles).
- To find missing publications, you can search using article titles or DOIs. You can also add missing publications manually if required.
- Make your profile public - this means that others will be able to find it and discover your body of work.
Once you've set up your profile, Google Scholar will update it with publications that it thinks are yours. You can choose between automatic updating and manual updating during the set-up process.
1. Update author profile (check your details such as email address): profile https://scholar.google.com/intl/en/scholar/citations.html
2. Add article manually
- Select the "Add articles" option from the menu. Search for your articles using titles, keywords, or your name. Your citation metrics will update immediately to account for the articles you added.
- If your search doesn't find the right article, click "Add article manually". Then, type in the title, the authors, etc., and click "Save". Remember, citations to manually added articles may not appear in your profile for a few days.
- To add a group of related articles, click "Add article groups". You may need to select multiple groups if you have written articles under different names, with multiple groups of colleagues, or in different journal. Your citation metrics will update immediately to account for the groups you added.
- If the menu doesn't appear, sign in to the Google account you used to create your profile.
Add Articles in Your Profile
Select the "Add articles" option from the menu. Search for your articles using titles, keywords, or your name. Your citation metrics will update immediately to account for the articles you added.
Add Article Group

**Add Article Group

Add Article

**Add Article (Search by name/ title of article)

Add Article Manually

**Add Article Manually (Enter publication detailed)


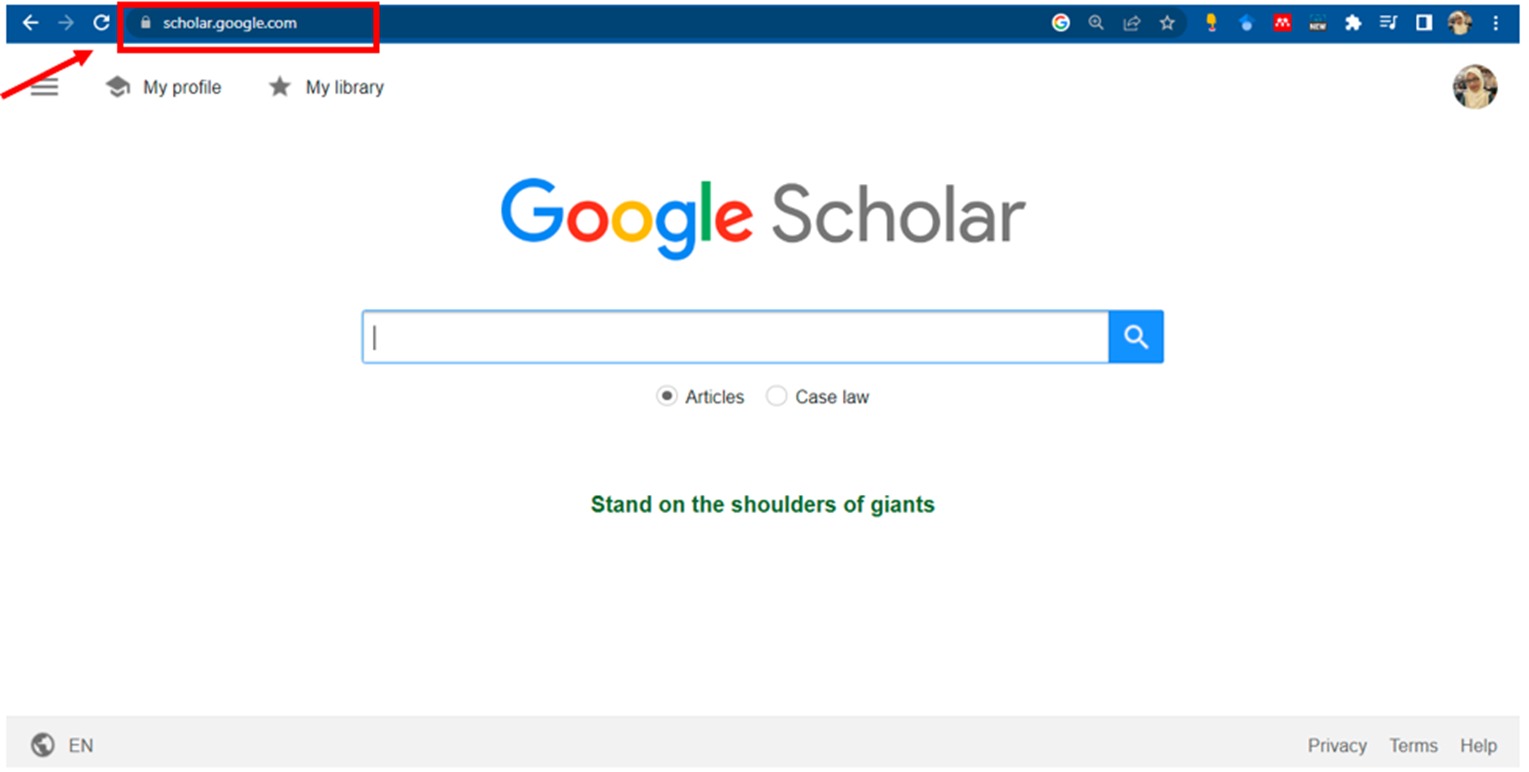
Step 1: Go to Google Scholar site https://scholar.google.com/
Step 2: Enter Name of Researcher
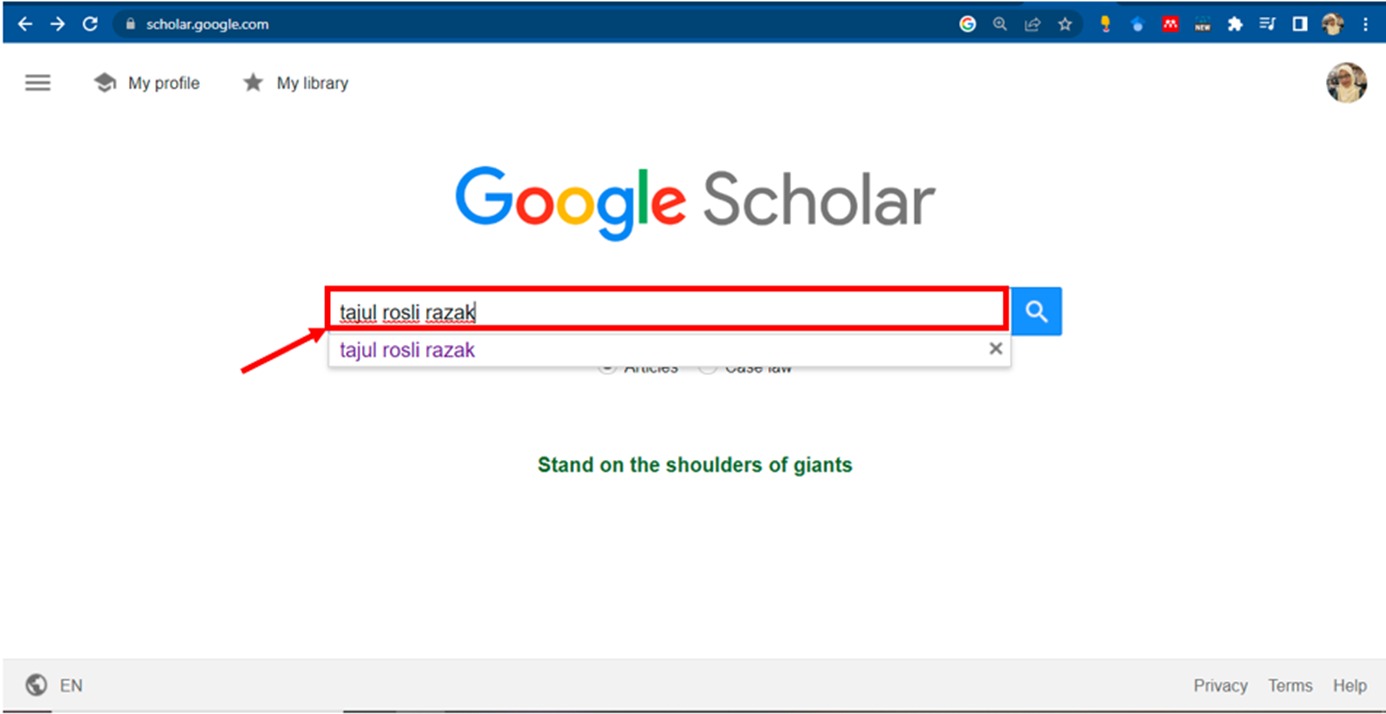
Step 3:Click on researcher name

Step 4: Researcher Profiles


Create your ORCID ID by filling the details:
- First name
- Last name
- Primary email
- Confirm primary email

Identify if you already have account or not.

Insert the Password (must contain 8 or more characters, 1 letter or symbol and 1 number).
Confirm password.

Choose you visibility for your ORCID record Everyone / Trusted Organizations / Only me.

 Check your email and verify your email address.

- When you click Sign Up, on the next screen, select Academic or Student.

- Fill out the form with University Teknologi MARA as your institution and Your Faculty as your department. Do not add your area to the department name.

- Fill out the next page with your name and UiTM email address and select a password.

- ResearchGate will now suggest publications for you to add to your profile based on your name. Click I am the author for any publications that belong to you, and This is not me for all others.
- Depending on how many publications you have and how common your name is, you may have to wade through several researchers before reaching publications that are actually yours. You can also choose to click Skip this step to add publications later.
- On the next screen, select your disciplines by clicking on related dicipline and then selecting up to 9 areas of focus.
- The next page will ask you to add your skills and expertise and allows you to further expand upon the disciplines you selected in the previous step.
- Add a profile picture.
- Finally, ResearchGate will ask you to follow researchers.
- You will now be taken to your homefeed, which will display updates made by the researchers you follow.
- Please see the Adding Publications and Editing Your Profile pages of this guide for your next steps.
- From any page on ResearchGate, click the arrow next to your profile picture and select Your Profile from the drop down menu.

- From any page in your profile, you can edit your Photo, Degree, and Institution, Department, and Position by clicking on Edit (the pencil symbol) next to any of those items.

- To Add publication or research please either click Add research button or Click Research tab.


UiTM Expert Profile is a research information system portal of UiTM academic staff where you can find the related information based on the available menus such as UiTM Expert, List of Professors, and My Expertise. In order to show you a better picture, I will take mine as an example. On UiTM Expert, you can search me as follows:
- by Name: Type "Mah Boon Yih" as the keyword;
- by Area of Expertise: Type "Language Development through Technology" as the keyword; or
- by Faculty: Select ACADEMY OF LANGUAGE STUDIES.

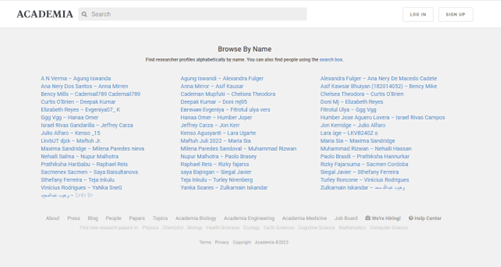
Its mission is to provide a system for scientists to share their results, independently of the current journal system.
More information please refer https://www.academia.edu/about
- Share your research publications.
- Monitor analytics such as the number of views of your documents or profile.
- Follow other researchers in your field.
Academia.edu profiles often appear high in Google searches, so a profile can be a great way to promote your research.
Full-text publications uploaded to Academia.edu profiles are indexed by Google Scholar.

- List your works in the Publications section
- List the most important works, such as journal articles, book chapters, conference proceedings, etc.
- Tip: Link to the Open Access versions of works (so more people can access and read them) via the institutional repository, VTechWorks or a disciplinary repository
- Alternatively link to your Google Scholar Profile or ORCID iD:
- List the most important works, such as journal articles, book chapters, conference proceedings, etc.
- Write your headline and resume summary
- Tip 1: the first 300 characters / 50-60 words visible to most, especially when searching for you on Google or LinkedIn
- Tip 2: Search for job postings in your field and use keywords and jargon found in those descriptions to increase your discoverability as a professional and academic
- Choose an industry for searchability
- Edit contact info - include professional or student email
- List relevant licenses and certifications
- List courses taken or currently taking
- List volunteer and service work
- Keep your summary, headline, and profile image consistent across your other platforms and profiles that you use in a professional or academic capacity, which could include Twitter, Google Scholar Profile, ResearchGate, and your own website.